 Monorepo to cross-repo without Maven repositories
This is a tutorial on how to split a Gradle monorepo with library and application code. It can be useful for cross-repo code reuse for your private projects. Or, when they are open-source, if you don’t want to deal with notoriously cumbersome Maven Central publishing. Or, when your company has an Artifactory, but you don’t want to deal with internal publishing process (yet).
Let’s start with simplified assumptions:
- We have a “monorepo” that contains two subprojects:
- A Java / Kotlin library
- A deployable application that depends on the library
- The monorepo is private
- We don’t publish the library artifacts to any Maven repository (eg Maven Central)
Our goals would be the following:
- We want to split the monorepo:
- Move the library to the
cross-repo-librepo - Move the app to the
cross-repo-apprepo - Both repos could be private as well
- Move the library to the
- We still want to keep the app’s dependency on the library
- We don’t want to publish library artifacts to public or private Maven repositories
- We want CI to be able to build projects from both repositories
We are going to use two great features from two great tools:
We assume that the library is already decoupled from the application code.
Then, extracting the library to the cross-repo-lib repository and setting up CI for it would be a tedious but uncomplicated matter.
There is nothing special that needs to be done about the library build.
As long as it builds successfully, we are good.
The most interesting part is how can the library dependency be visible to the app in the cross-repo-app repository without being published anywhere.
Here is the plan:
- Add
cross-repo-libas a git submodule in thecross-repo-apprepository - Include the submodule into the app’s build
- Configure CI for the app with GitHub Actions
You can find the full setup I will be describing in the following repositories:
cross-repo-lib— https://github.com/alllex/cross-repo-libcross-repo-app— https://github.com/alllex/cross-repo-app
I will also use those links as examples in the commands.
Git submodule in the app repo
We start by adding cross-repo-lib as a Git submodule in the cross-repo-app repo.
This effectively means checking out the library at a specific commit inside a directory of the app repo.
This will create a new .gitmodules file, containing the submodule information.
In order to locally materialize the actual files from the submodule repository, we also need to run another command:
What you should see as a result is a cross-repo-lib directory with the content of the library repository.
cross-repo-app
├── cross-repo-lib
│   ├── ...
│   └── settings.gradle.kts
├── ...
└── settings.gradle.kts
All the files are in place, and now is the time to set up our build.
Composite build
In the monorepo-style Gradle builds, we usually have a single settings.gradle.kts file in the root of the repository.
In our case, however, we have another settings file inside the checked out cross-repo-lib directory, which technically defines a separate Gradle build.
But we can combine them into a single “whole” build again using Gradle’s Composite Build feature.
While regular subprojects are added to a build in a settings file via include("subproject"), builds in a composite are included using includeBuild("other-build").
includeBuild("cross-repo-lib") {
    dependencySubstitution {
        substitute(module("org.example.cross.repo:lib")).using(project(":lib"))
    }
}
Since our goal is to use artifacts created by the included build, we also tell Gradle which dependency of the app should be replaced (substituted) by these artifacts.
The name of the dependency is irrelevant in this case, as long as it does not clash with real dependencies.
With that in-place, we can define a dependency in the app’s build file regularly1:
dependencies {
    implementation("org.example.cross.repo:lib") // no version necessary
}
We don’t have to specify the version for the same reason we don’t specify it for project dependencies like implementation(project(":other-subproject")).
The dependency resolution will always link them to the artifacts produced by the referenced build.
Now everything is ready to start using the library in our application! After adding some library calls in app sources, we can make sure the code compiles and tests pass:
Omitting the substitution
The dependencySubstitution block in the includeBuild call is required only if the library does not define the expected coordinates.
However, if we make sure to declare them in the library build, we can simplify the includeBuild logic as described in Gradle the docs.
group = "org.example.cross.repo"
// artifact name `lib` is inferred from the project name
This allows Gradle to associate the library artifact with the org.example.cross.repo:lib coordinates.
Then in the app build we only need the following, and Gradle will do the magic.
includeBuild("cross-repo-lib")Fresh checkouts
The application repository is self-contained with respect to the library dependency. We didn’t publish the library’s artifacts anywhere (not even Maven local), but we can still checkout and build the app anywhere. All that is required is the access to both repositories.
A fresh checkout done manually can look like this:
Note the additional --recurse-submodules flag.
If you did a regular clone, you can also cd into the repo directory and run the submodule command separately: git submodule update --init.
With that, we are all set to build the freshly checked out app:
Upgrading submodule dependency
Eventually there will come the time, when we will “release” a new version of the library. After that, we want to be able to upgrade to this new version in the app repository.
The flexible git submodule mechanism allows to upgrade to a specific commit or track a branch. For example, here is how you can update to the latest version of the main branch of the submodule:
Now, when you rebuild the app project, it will pick up the latest library changes.
CI with GitHub actions
In order to make the build work with GitHub actions, we need to do the following:
- Create an access token that can read both repositories
- Add an action to the GitHub workflows
The access token is required, because by default the CI for the app repository does not have access to the library repository if it is private. You can use an existing token that has read-permissions for the required repositories, or you can create a new one on the Personal Access Tokens page. Make sure to select at least Contents Read-only access in the Repository Permissions section.
In the repository settings, you can add this token as a secret on the Actions secrets and variables page.
You can provide any name for the secret, but let’s assume it is called ACCESS_TOKEN.
Now, we can create a new workflow file in the cross-repo-app repository.
The workflow action will do the checkout, and then compile and test the app.
name: Check
on:
  push:
    branches: [ main ]

jobs:
  gradle:
    runs-on: ubuntu-latest
    steps:
      - uses: actions/checkout@v3
        with:
          submodules: recursive
          token: ${{ secrets.ACCESS_TOKEN }}

      - uses: actions/setup-java@v3
        with:
          distribution: zulu
          java-version: 17

      - uses: gradle/gradle-build-action@v2
        with:
          arguments: check
Two things to note here:
- We are adding
submodulesandtokenattributes to the checkout step to make sure the checkout is complete. - We are using an official Gradle Build Action that integrates securely and efficiently with the GitHub Actions infrastructure.
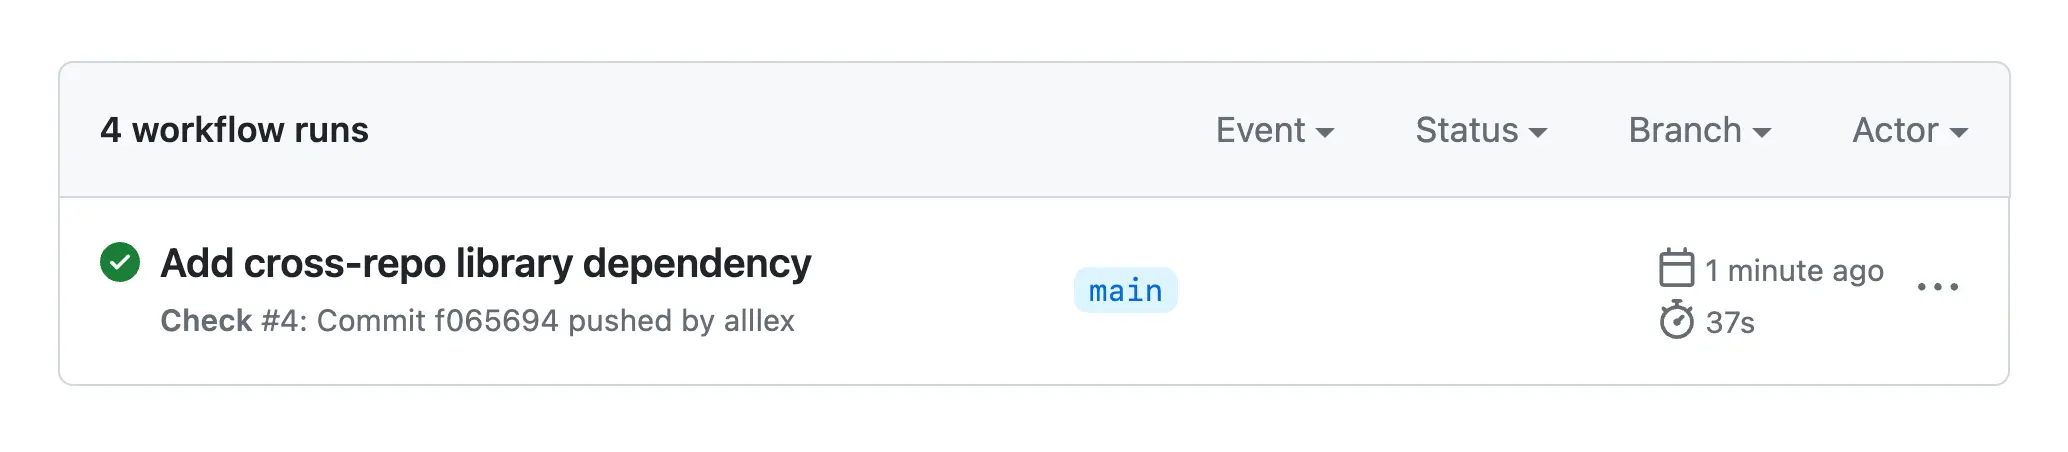
After a commit and a push, the action should run automatically and provide us with a satisfying green checkmark.
Conclusion
In this article, we learned how to organize cross-repository CI-friendly builds without relying on a private Maven repository for artifact publishing.
We linked one git repository to another via the submodule mechanism. Then, we configured a Gradle composite build to add the library as a dependency of the application. Just like that, we were already able to build the application successfully.
After looking at how to check out a fresh repository with submodules and upgrade them to the latest version, we also explored a GitHub action setup that allows us to test the application continuously.
Footnotes
-
We could have also used Version Catalogs or any other Gradle mechanism to define the dependency. ↩